Saturday, March 19, 2011

Loft:- Dormers and Interior

The right hand dormer contains the shower room. To the right of the dormer, under the slope, is the staircase.


The left hand dormer provides the main source of light to the bedroom.


A view of the future bed-space.


The front peak will contain a large storage space.


Roofer at work in the left hand dormer.


The future shower room in the right hand dormer.


Notice the extra inch of wood added to the rafters... We'll see that tomorrow.


Standing at the top of the stairs. ...Well, if the stairs were actually there yet.

Friday, March 18, 2011

Loft:- The Interior Takes Shape

Two days ago this was going to be the bathroom:


Remember the architects drawing? The image seems to indicate a reasonable roof height doesn't it?  It won't be lofty but it's workable.


This is the reality.  (Note that this guy is about 5'6" tall, he's no giant.)


This guy is about my height.  Forget having a shower!  We can't even squeeze a bath in there.


OK, so the bathroom has to move. So we're in for a quick redesign. 
This is where the stairs come up, and there is a dormer window on the left:


This is the size of the dormer window.  Looks big enough to take a shower... So that is where the shower and WC will be.


The other dormer window:


This will be a storage area, once the rafters have been removed:

Wednesday, March 16, 2011

Roof and mouldings repairs

The chimney has now been re-capped, and the rear face of the peak has been re-rendered.


The flashing was fixed.

The front face mouldings are almost finished.


Tuesday, March 15, 2011

Party Wall - The Second Sequel

The front half of the party wall was re-rendered.


And the chimney was given a new waterproof cap.


At the back of the party wall we still have to solve the damp problem. The rain is getting between the gutter and the wall and seeping into the wall through cracks in the concrete.


 The roofer will plug the gap at the end of the party wall so that rain either goes into the gutter or onto the roof tiles. Errr... Lack of scaffolding in this corner.

Saturday, March 12, 2011

Aft Chimneys

Remember that chimney with the satellite dish? Well, there used to be a chimney here.
The mortar was so soft that the guy simply lifted the bricks off and carried them away.  That's very scary! 
To repair the chimney would have required a complete rebuild.

The next problem is the rear-most chimney that Caroline has asked us to keep. The pointing and flashing is in very bad condition. This is a close-up of the concrete edge and lead flashing which should deflect water into the gutter below. Obviously the rain runs straight down the chimney and into the crack.
Note the state of the pointing. (errr... what pointing?)

Even closer.


This pointing is going to have to be replaced.

Friday, March 11, 2011

Loft:- Rafters, Joists etc

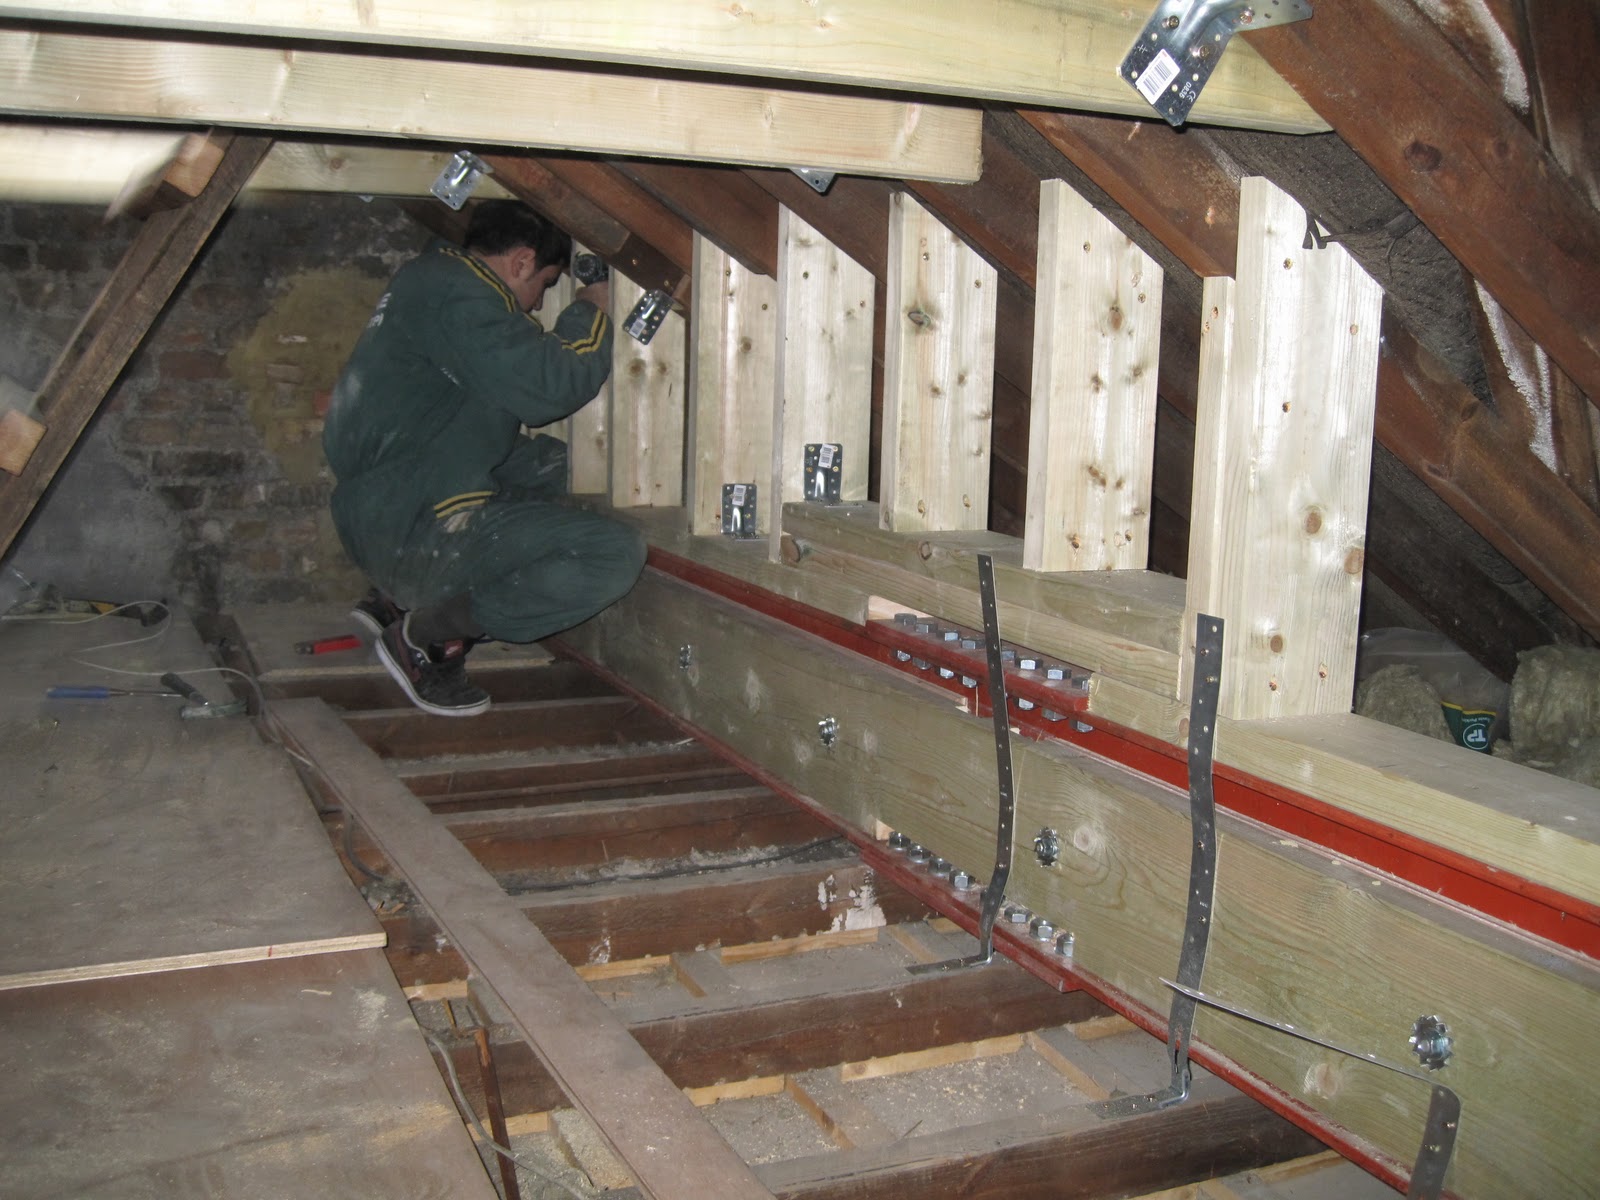
This loft is being built strong enough to hold a another house on top!

This is the tunnel through to the rear loft. I hope to have access through the tunnel.

This is where the bathroom will go. (Editor; see later entry!)  We're really concerned about head height here, because I want a shower head high enough to take a decent shower.
That old cross beam supports the existing roof. It spans the entire roof space. Compare the dimensions with what we are putting in now!

Busy busy. Working hard. 
The odd construction on the left is the temporary ladder.

Just in case it wasn't strong enough...

This is the section under the arch which I'd hoped to keep open to provide a bit of character. 
The beams are too big, so it won't happen.  :-(

More of the arch...
Look at that laser. So much easier than spirit-levels.

Another shot of that "puny" cross beam compared to the new support.
Note that the temporary cross-ties come out as the rafters supports go in.

It's in here somewhere, I'm sure.
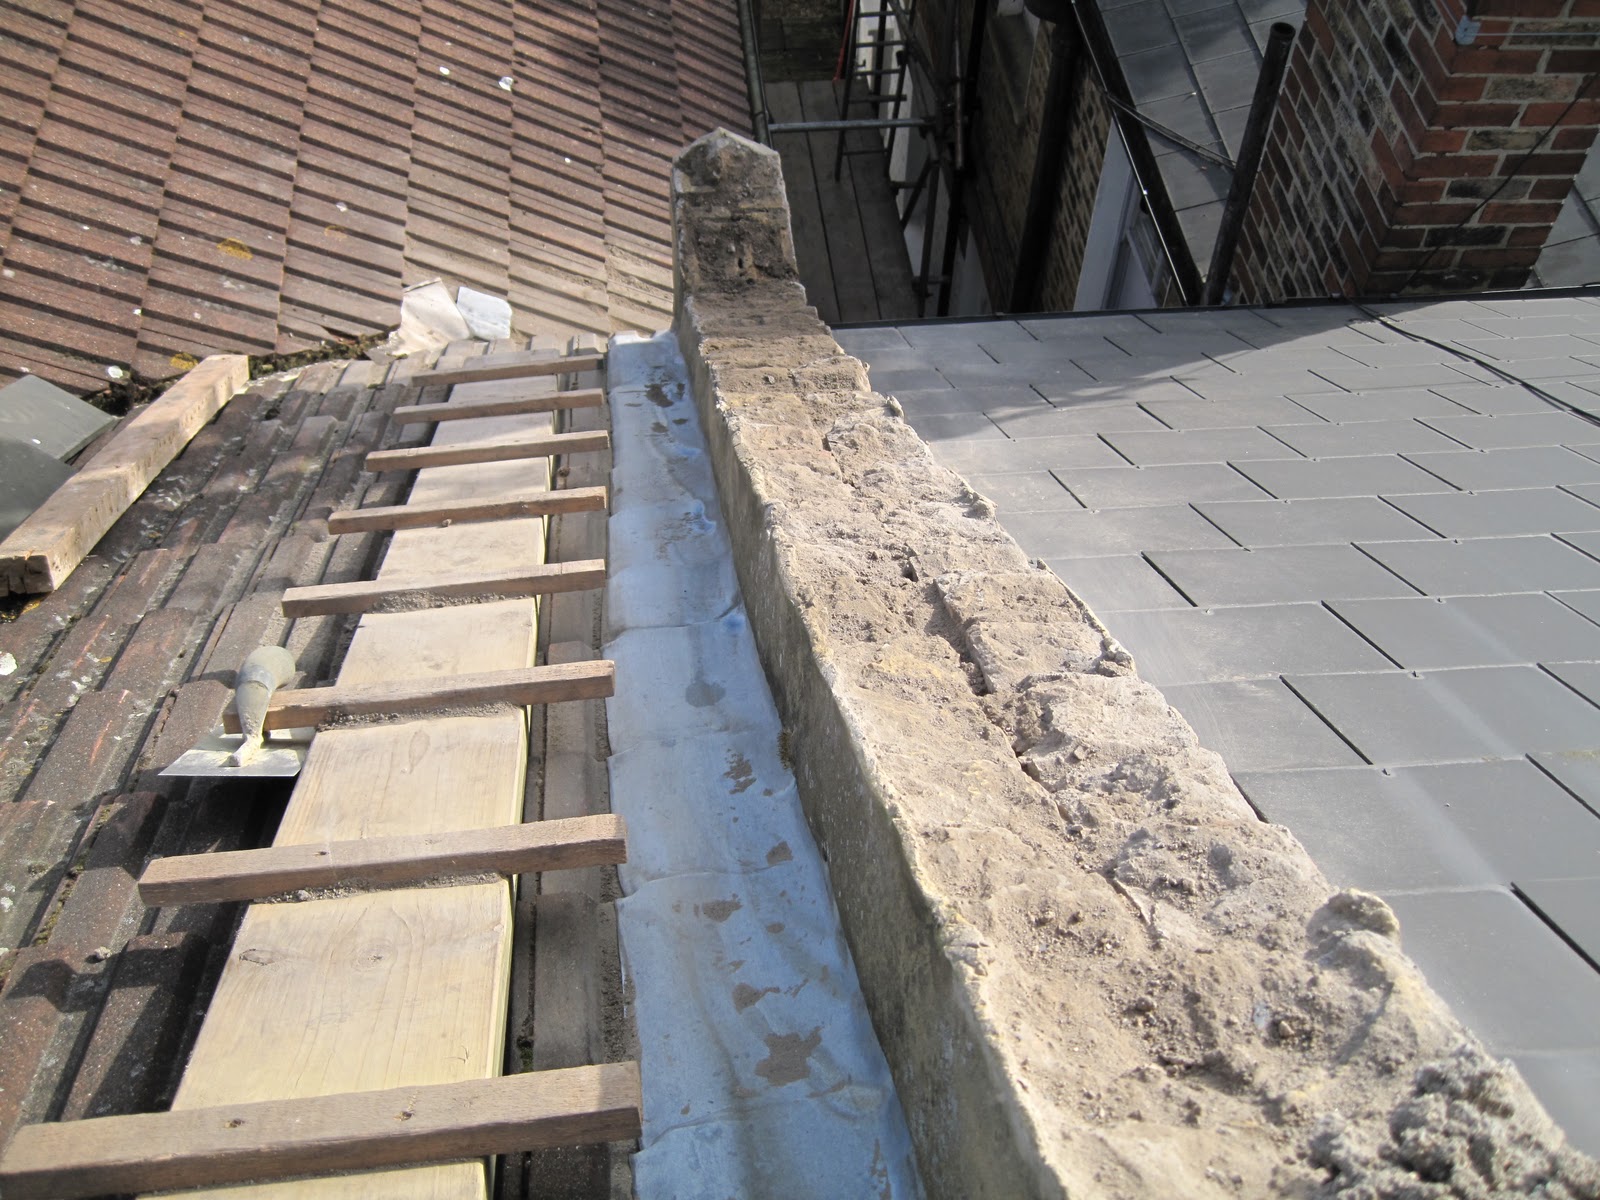
The dormers will go in this side of the roof. 
Somehow we are going to create storage space behind that beam. I guess the storage space will have doors and not drawers.

The first joist goes in. Again, compare with the 6" joists that are currently supporting the other floors. 

More joists, with nogins between them, and the base layer of flooring. 
It's the nogin that prevents twisting and sagging of the floor.  Absolutely vital!

The bathroom joists are smaller to provide a lower floor. Costa has doubled the joists. We can do this because they span a much smaller gap. The stairway will be to the left of the cross-beam that has been tied into the wall on one end and onto a standard joist at the other end.


The lower floor of the bathroom means that we will have a step down from the main floor level. That means we need to make a decision about the bathroom door. We could put it on the landing instead of in the bedroom. That would mean that the door would be rectangular instead of being cut off at an angle, and that the wall would be unbroken on the bedroom side. I like that idea because it would allow for furniture like a chest of drawers.


The ceiling can't be a peak because we need to tie the rafters together at the top.  This space will contain insulation.

Thursday, March 10, 2011

Satellites and UHF

The Sky dish has now been moved to the chimney on the party wall between No.4 and No.2.
The tall pole holds my UHF aerial for normal terrestrial TV signals. It has a splitter on the base to allow two connections.

Cables now laid tidily in rain gutters
Nice and neat.

Wednesday, March 9, 2011

Party Wall Part Deux

The decision was taken to lift the caps and see what the state of the wall was underneath. 

I knew it wasn't going to be good, but I didn't expect what we found. This is supposed to be solid, waterproof... 


The "mortar" was cleared off down to the solid surface.
The caps were then replaced with a large dollop of cement underneath.


The gaps between caps have been sealed with cement.

On the front face, the base of the stack has been re-rendered and the flashing bound into the wall. Luckily the bricks are still strong and there was no need to replace them.